Problem Solving in DaVinci Resolve Год выпуска: 2016 Производитель: Ripple Training Сайт производителя: rippletraining.com/products/davinci-resolve/problem-solving-davinci-resolve/ Автор: Jason Bowdach Продолжительность: 02:45:10 Тип раздаваемого материала: Видеоурок Язык: Английский Описание: Решение проблем в DaVinci Resolve поможет вам ответить на вопросы, которые все колористов спросить себя, садясь для решения общих изображений связанных с этим проблем: "Где лучшее место, чтобы начать?" "Как я знаю, какие аспекты моих изображений должны быть исправлены ? "Существует ли идеальный подход к коррекции мои кадры?" В данном практическом руководстве, колорист Джейсон Bowdach научит вас, как подойти к вашей коррекции путь профессиональных колористов делать - с использованием стандартного порядка операций, которые позволят улучшить, а в некоторых случаях даже спасти снимки, которые вы, возможно, списанные непригодным к использованию.-Problem Solving in DaVinci Resolve will help you answer the questions that all colorists ask themselves when sitting down to address common image related problems: “Where is the best place to start?” “How do I know what aspects of my images need to be corrected? “Is there an ideal approach to correcting my footage?” In this hands-on tutorial, colorist Jason Bowdach will teach you how to approach your corrections the way professional colorists do – using a standard order of operations that will improve, and in some cases even salvage shots that you might have written off as unusable. Here are some of the topics this tutorial covers:
How to evaluate your images for problems
Improve poorly exposed footage using curves & color wheels
Fix shots with mixed lighting or white balance issues
Normalize your footage with Resolve Color Management & LUTs
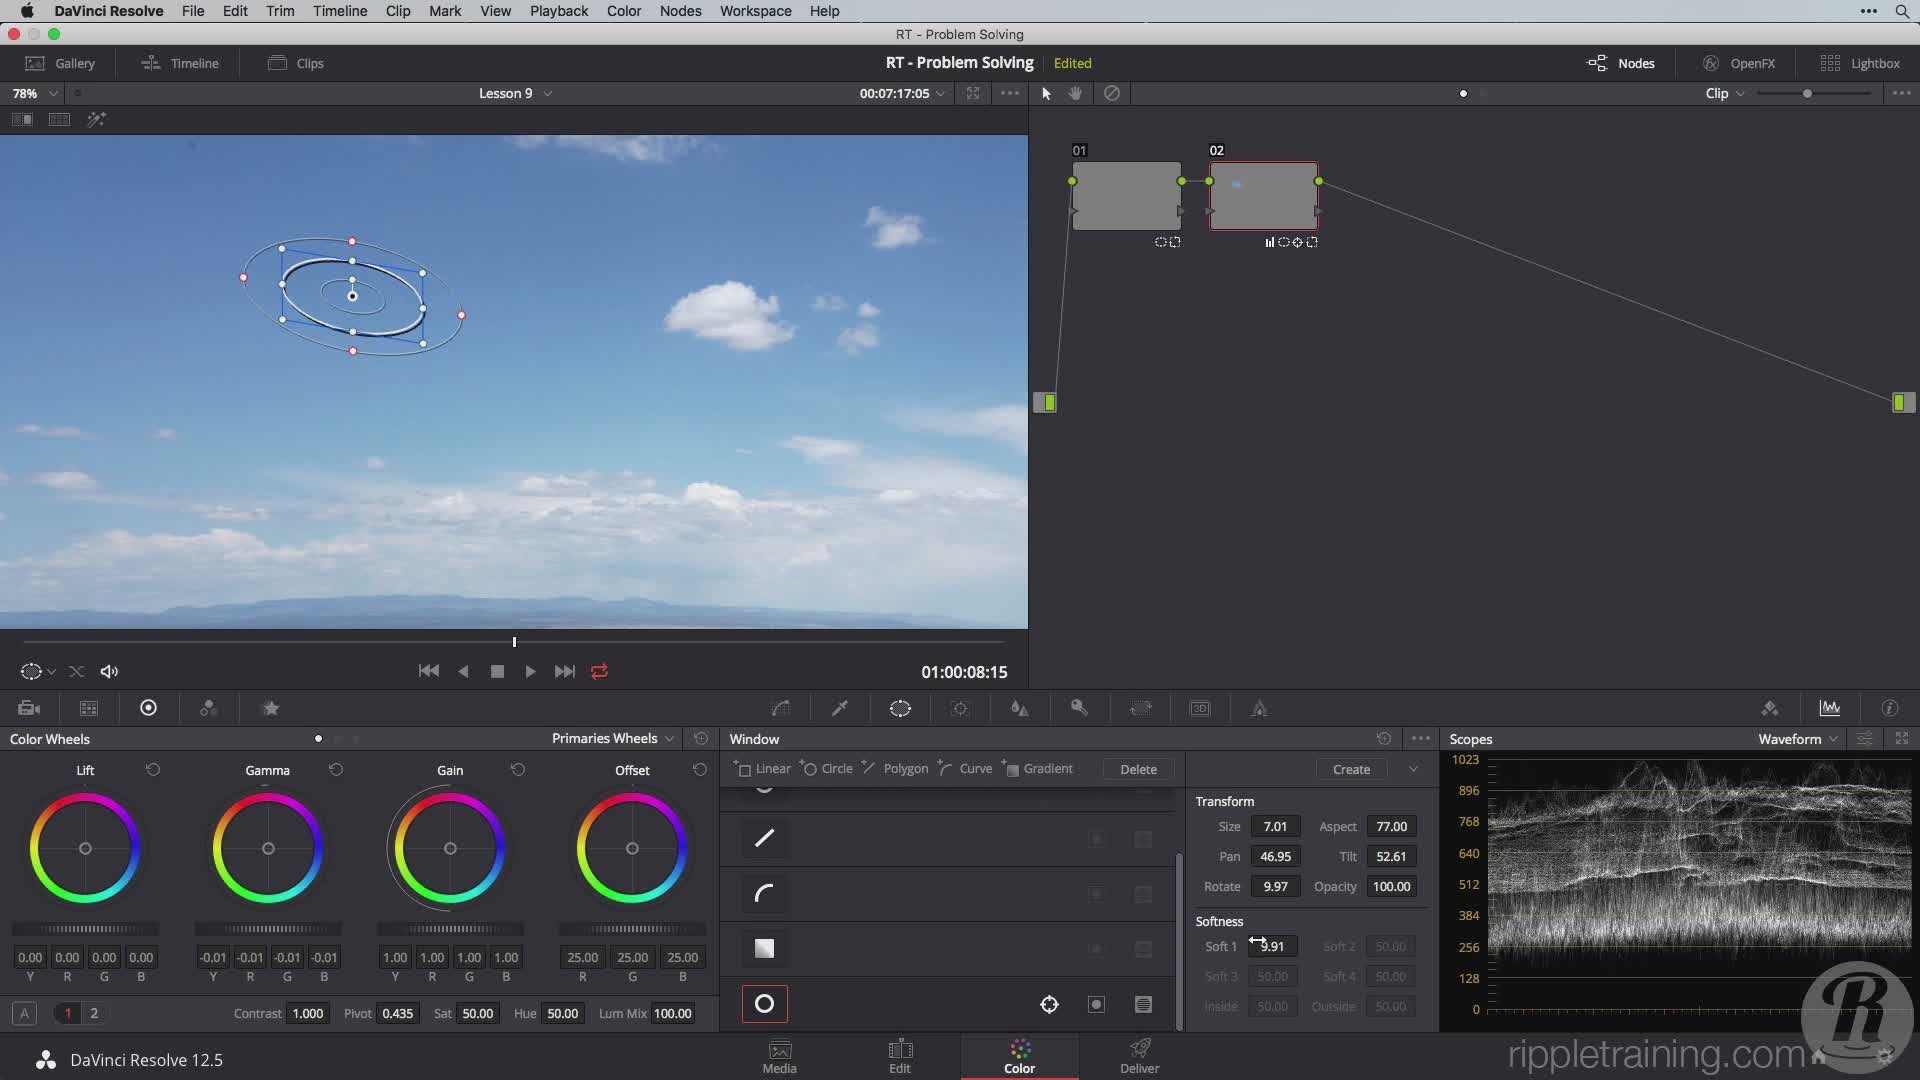
Focus attention using windows, qualifiers, and blurs
Clean up compression and/or sensor noise in your shots
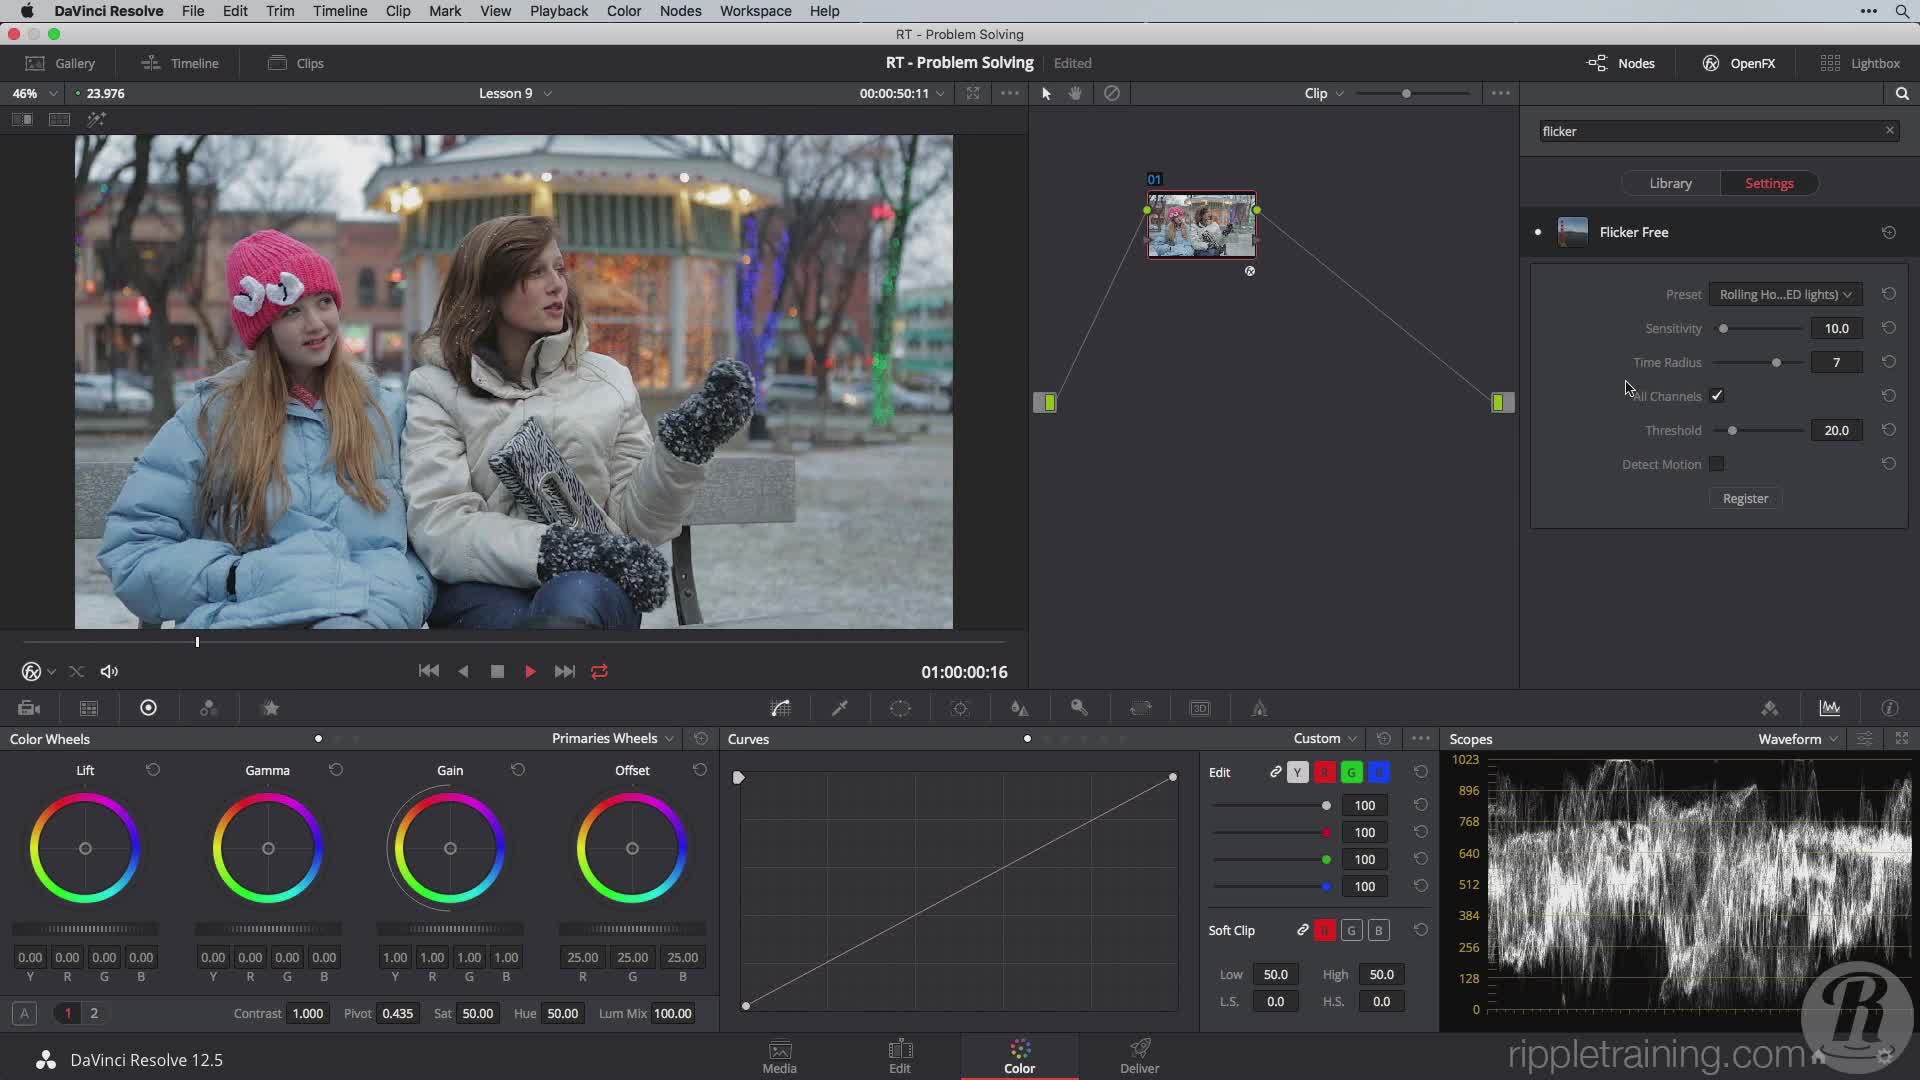
Remove or reduce flicker, dead pixels, and lens distortion
Содержание
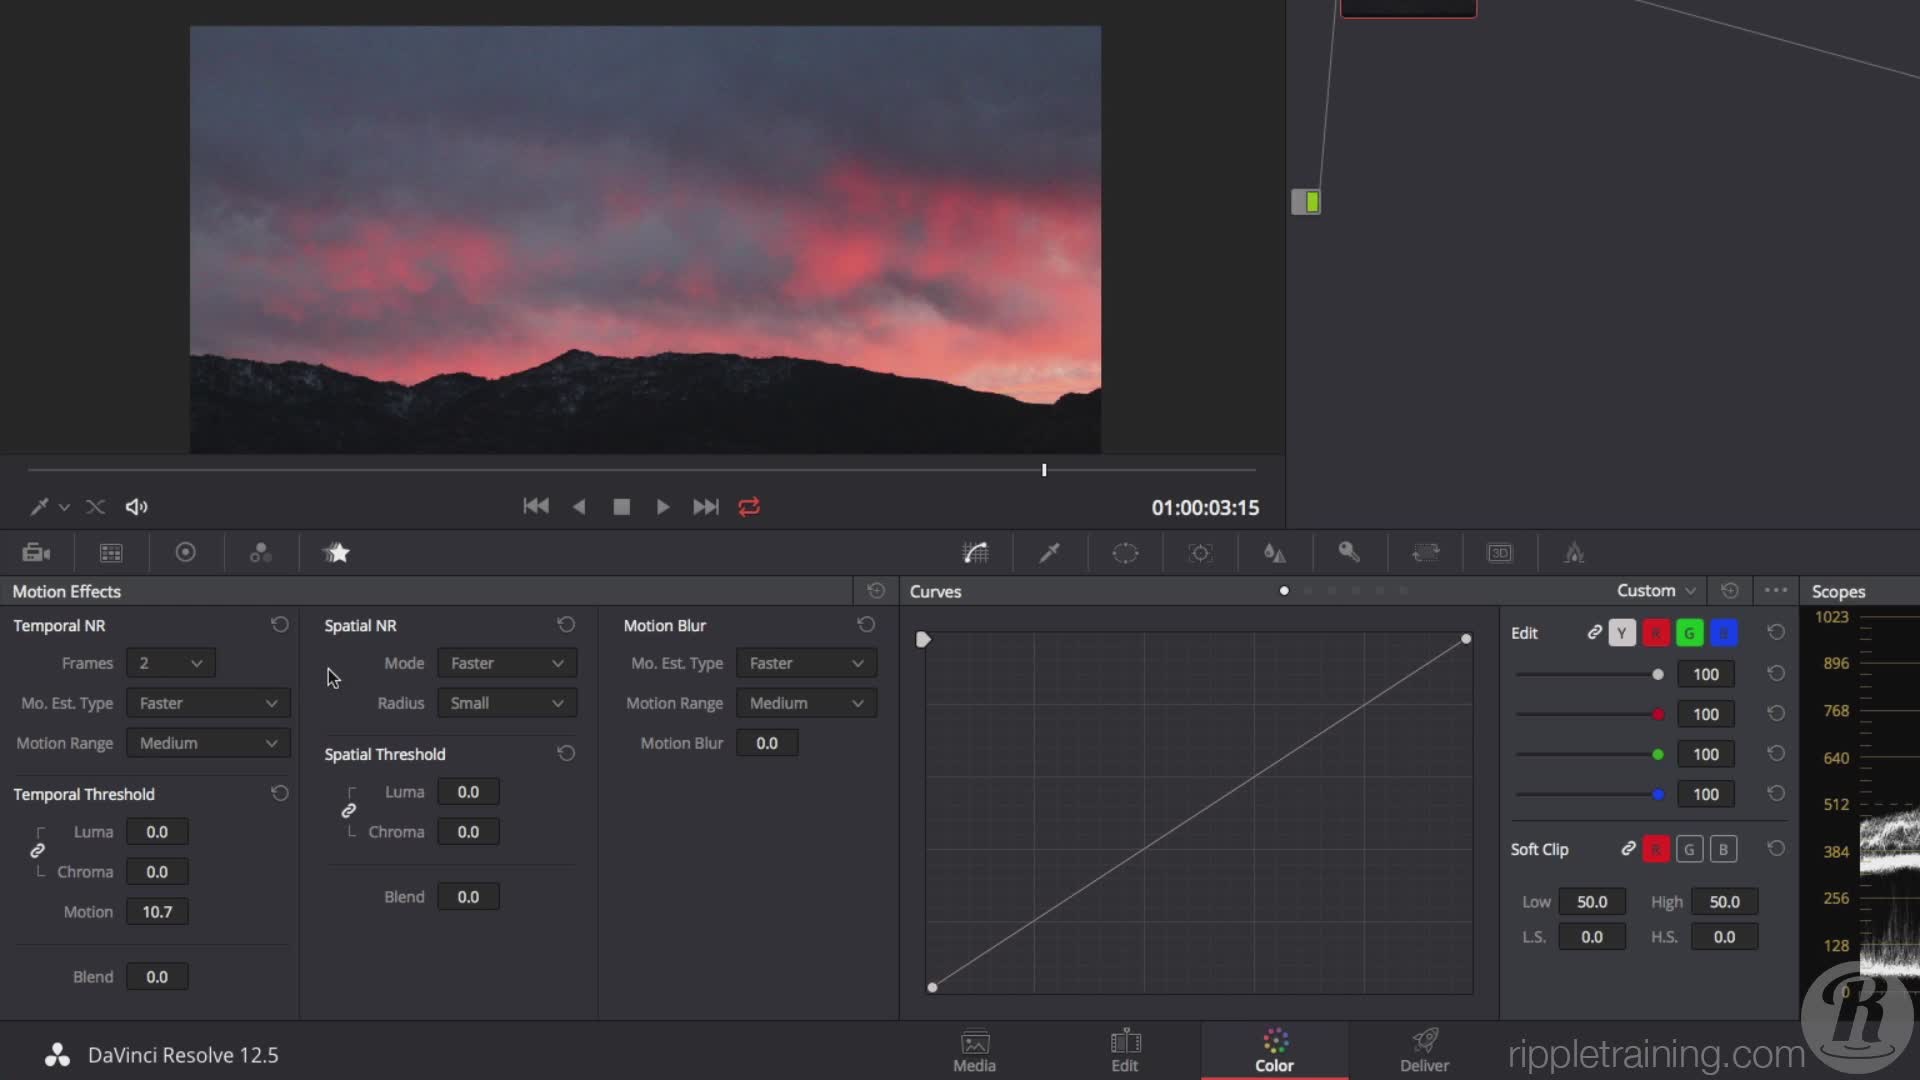
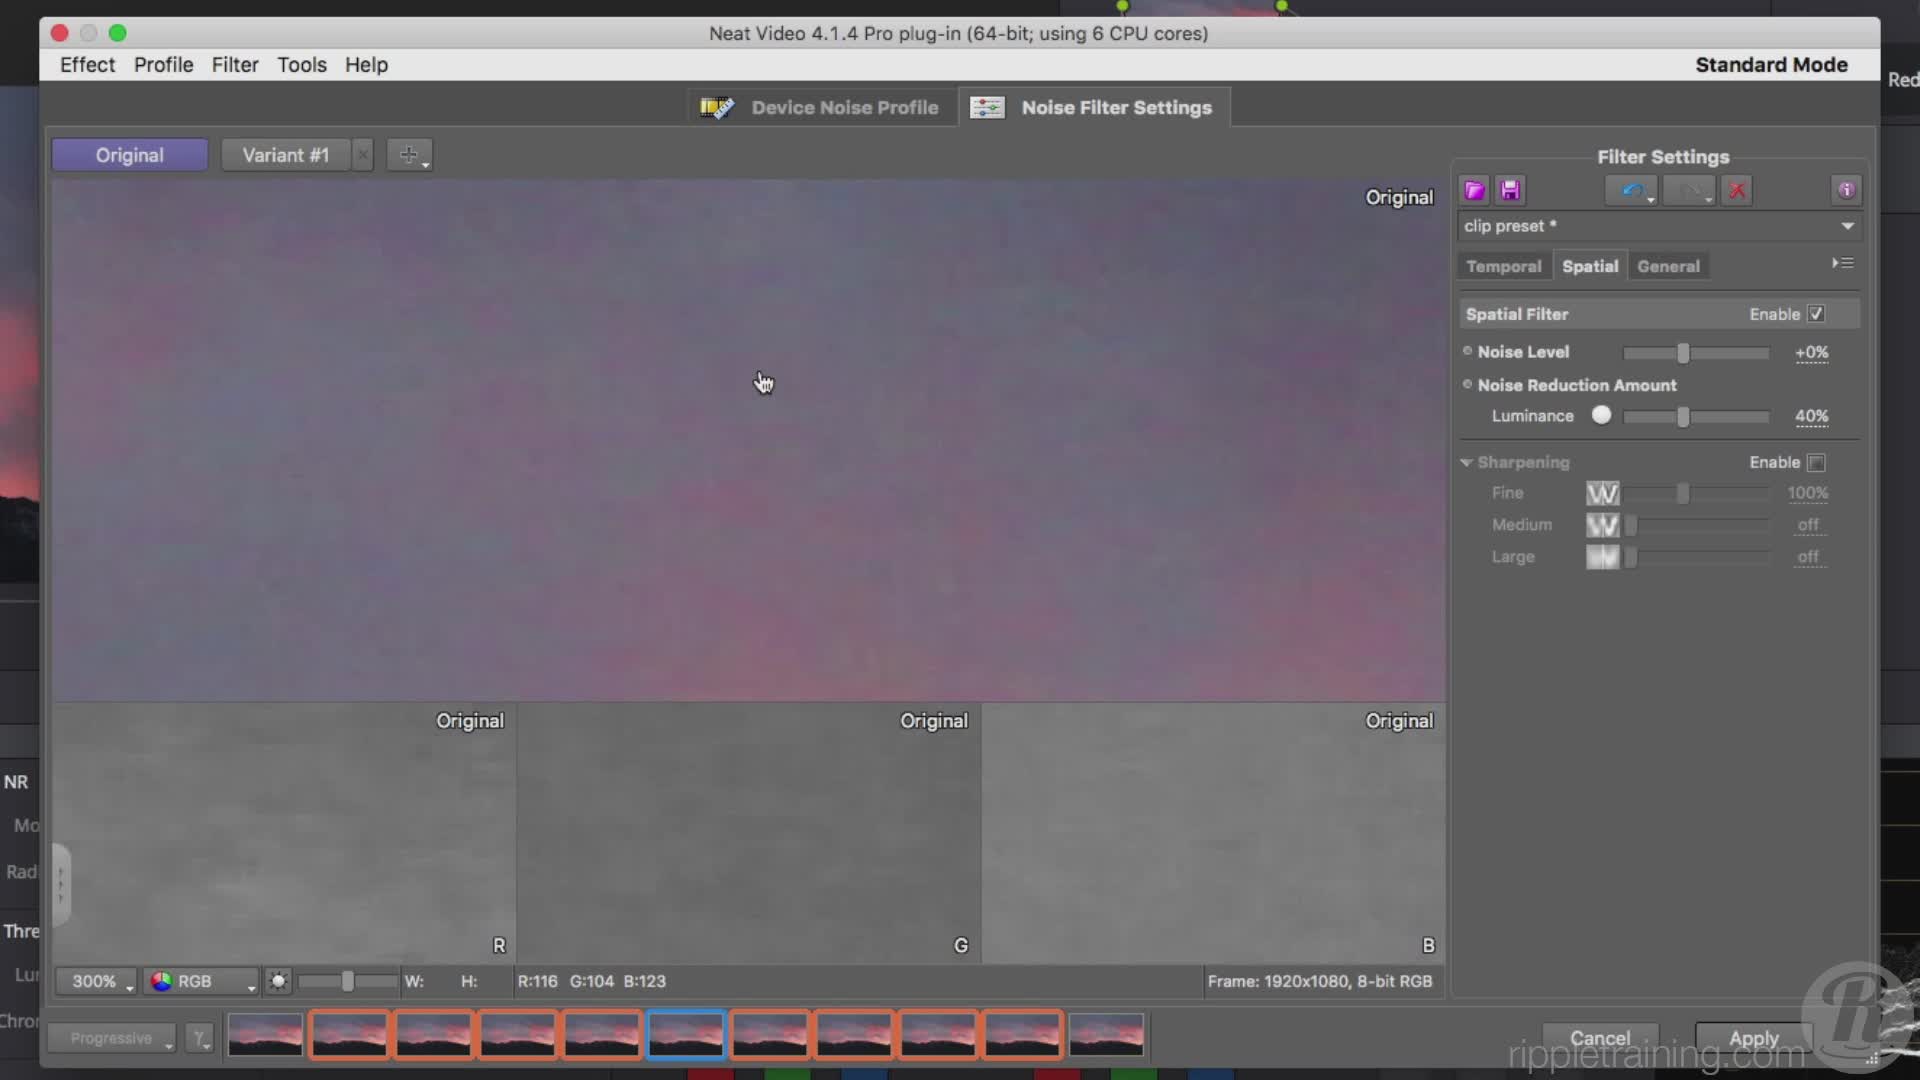
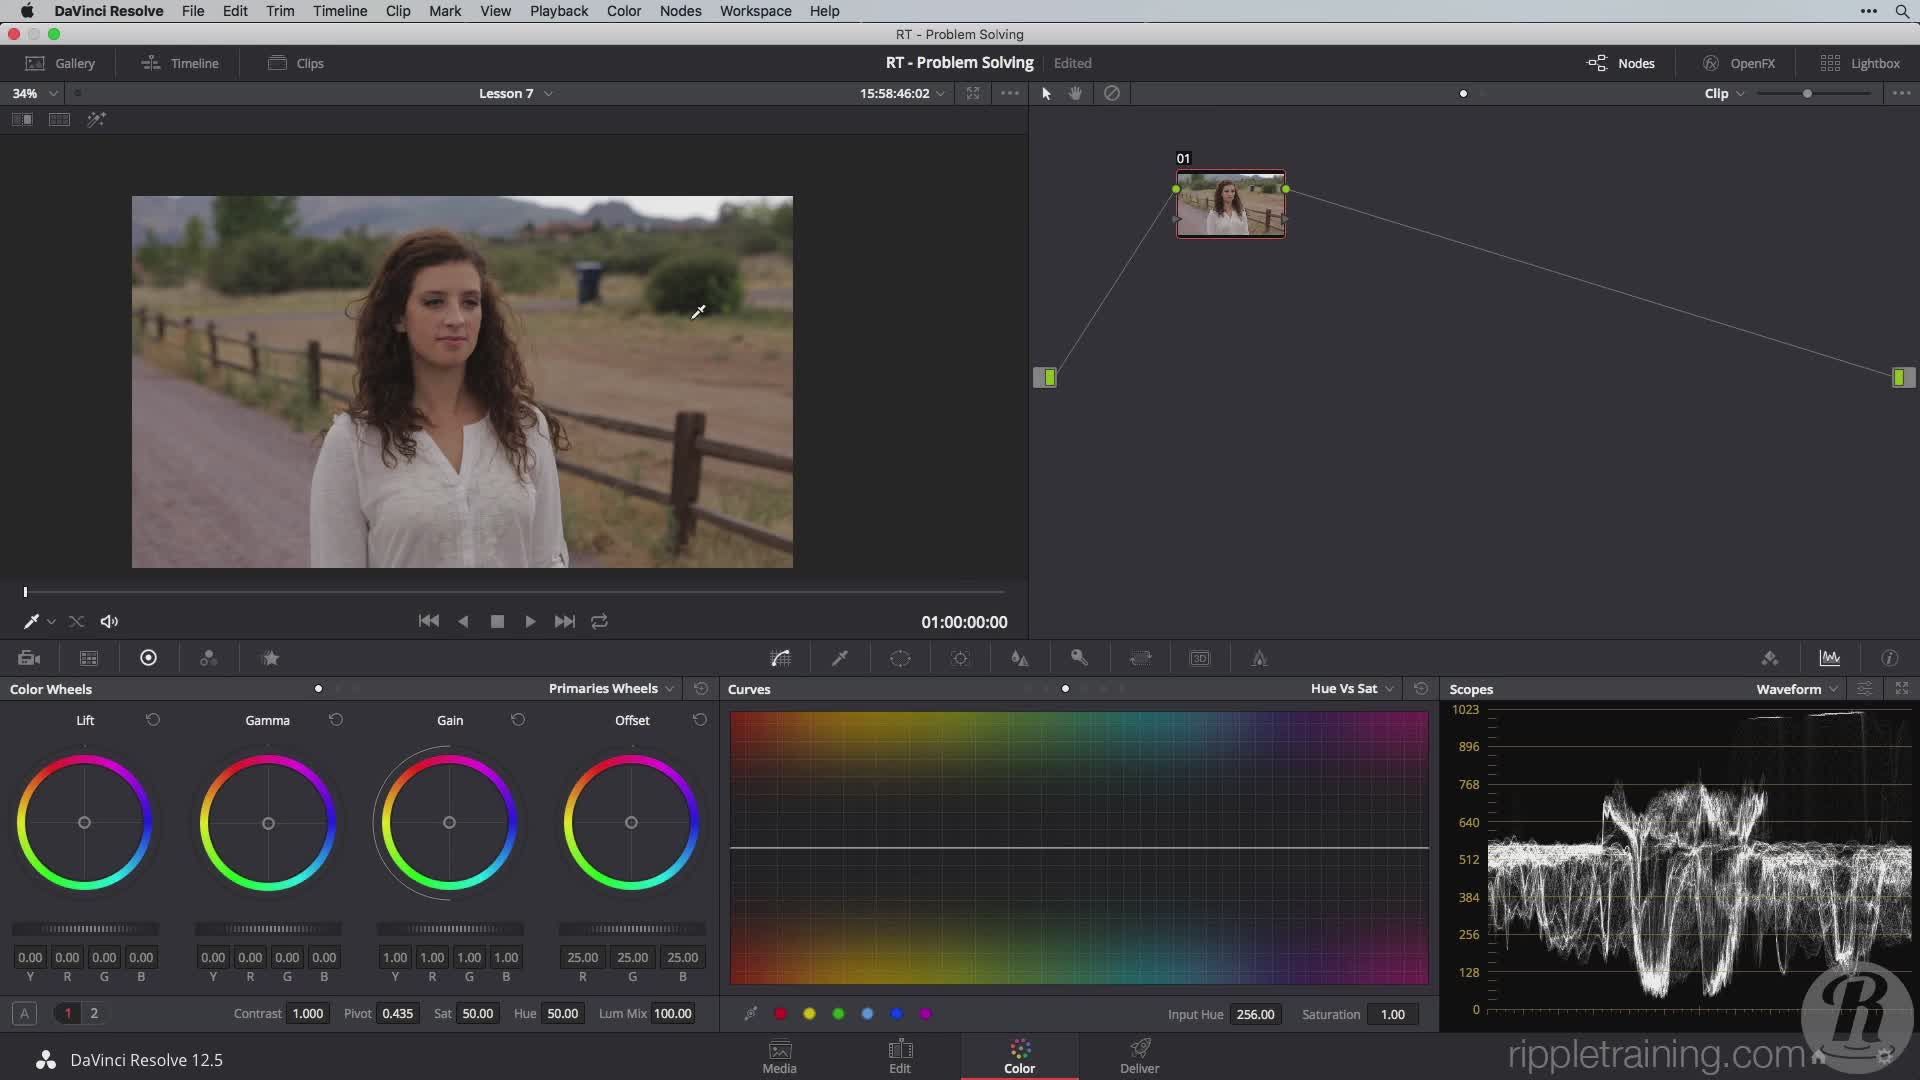
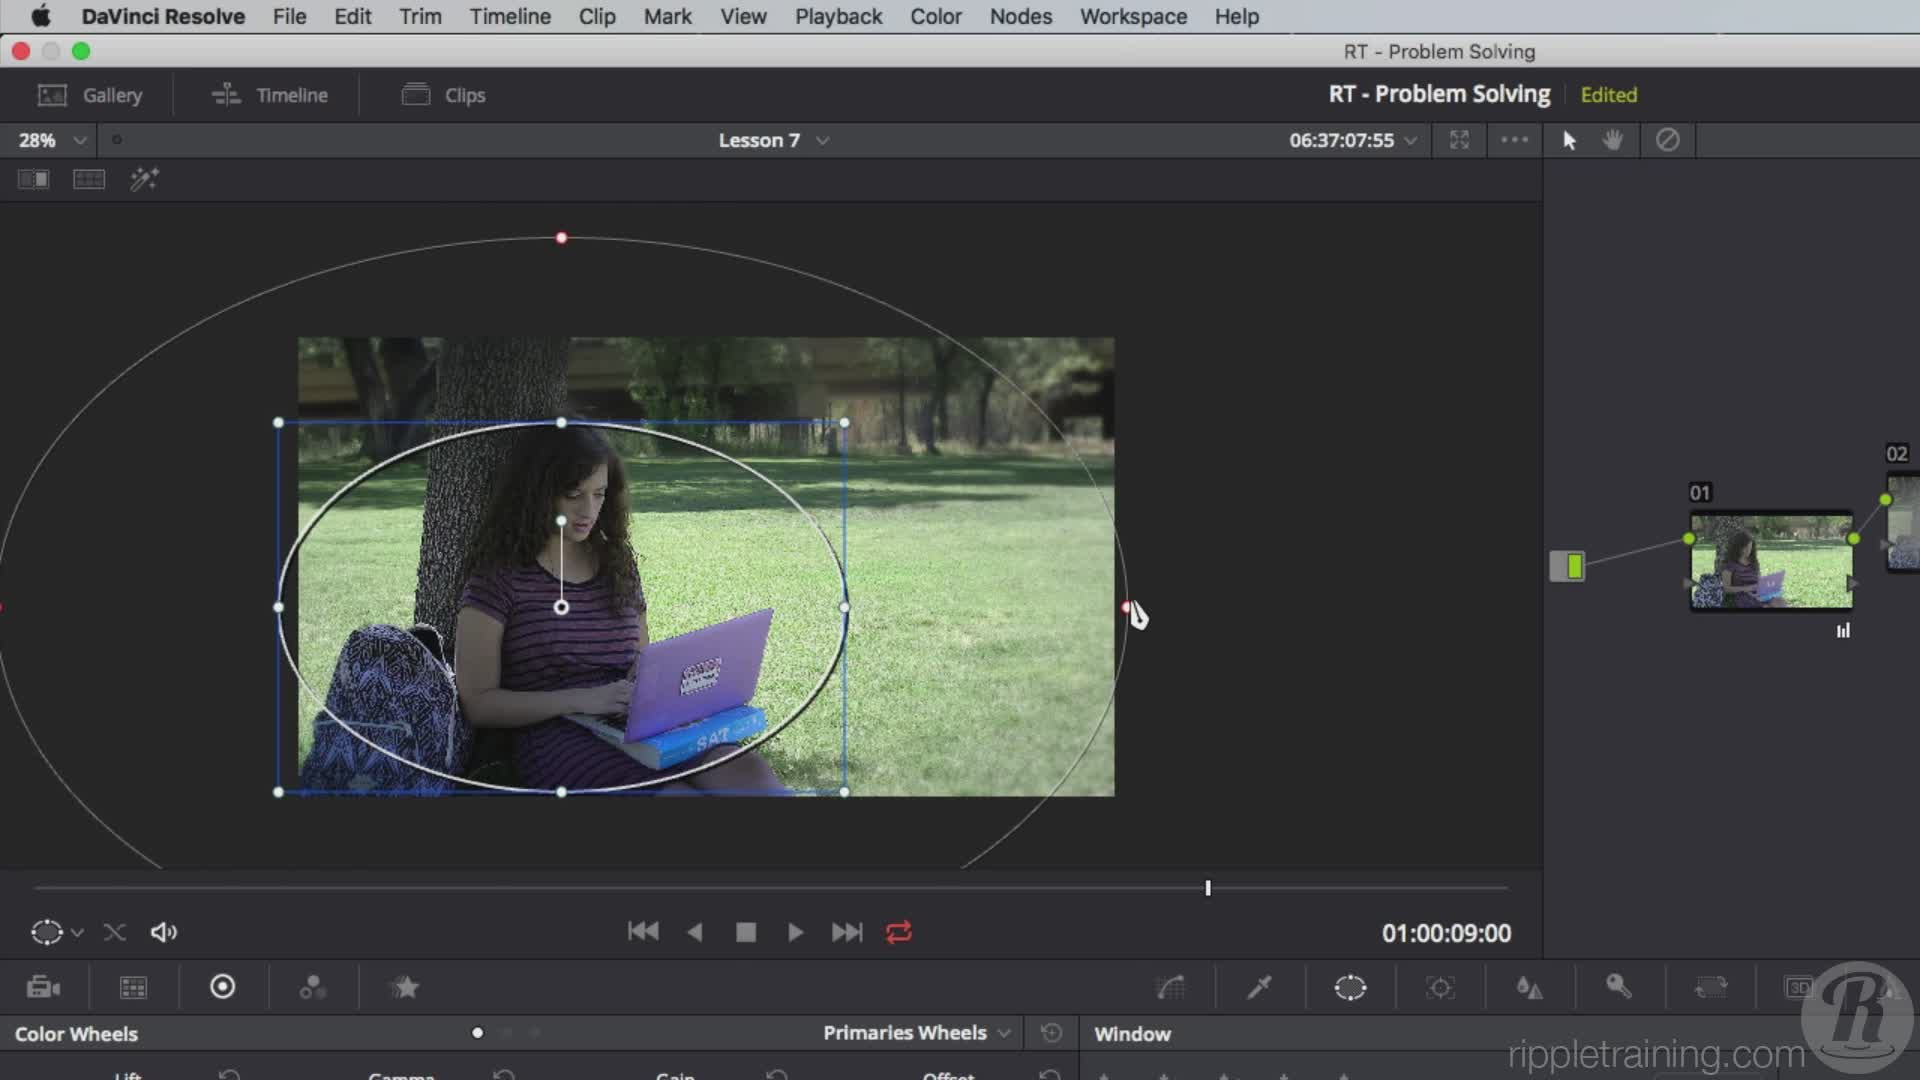
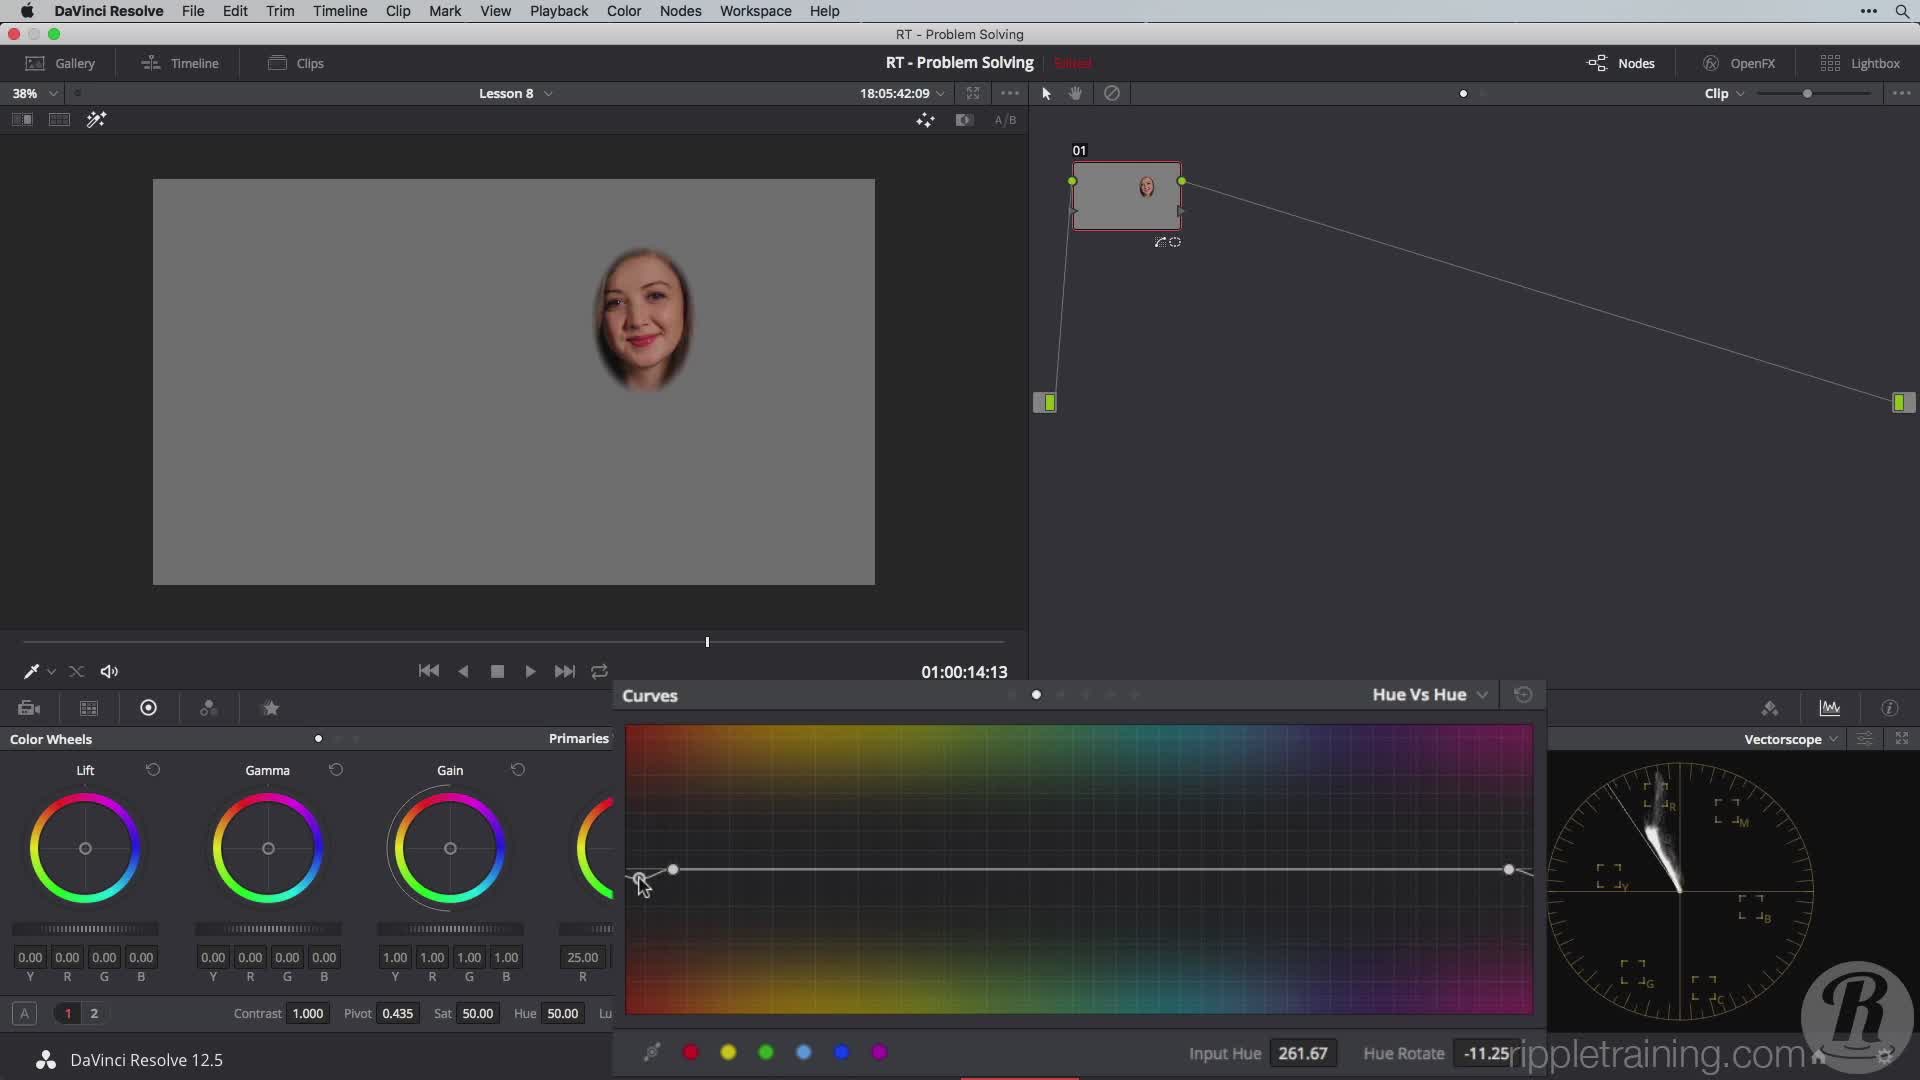
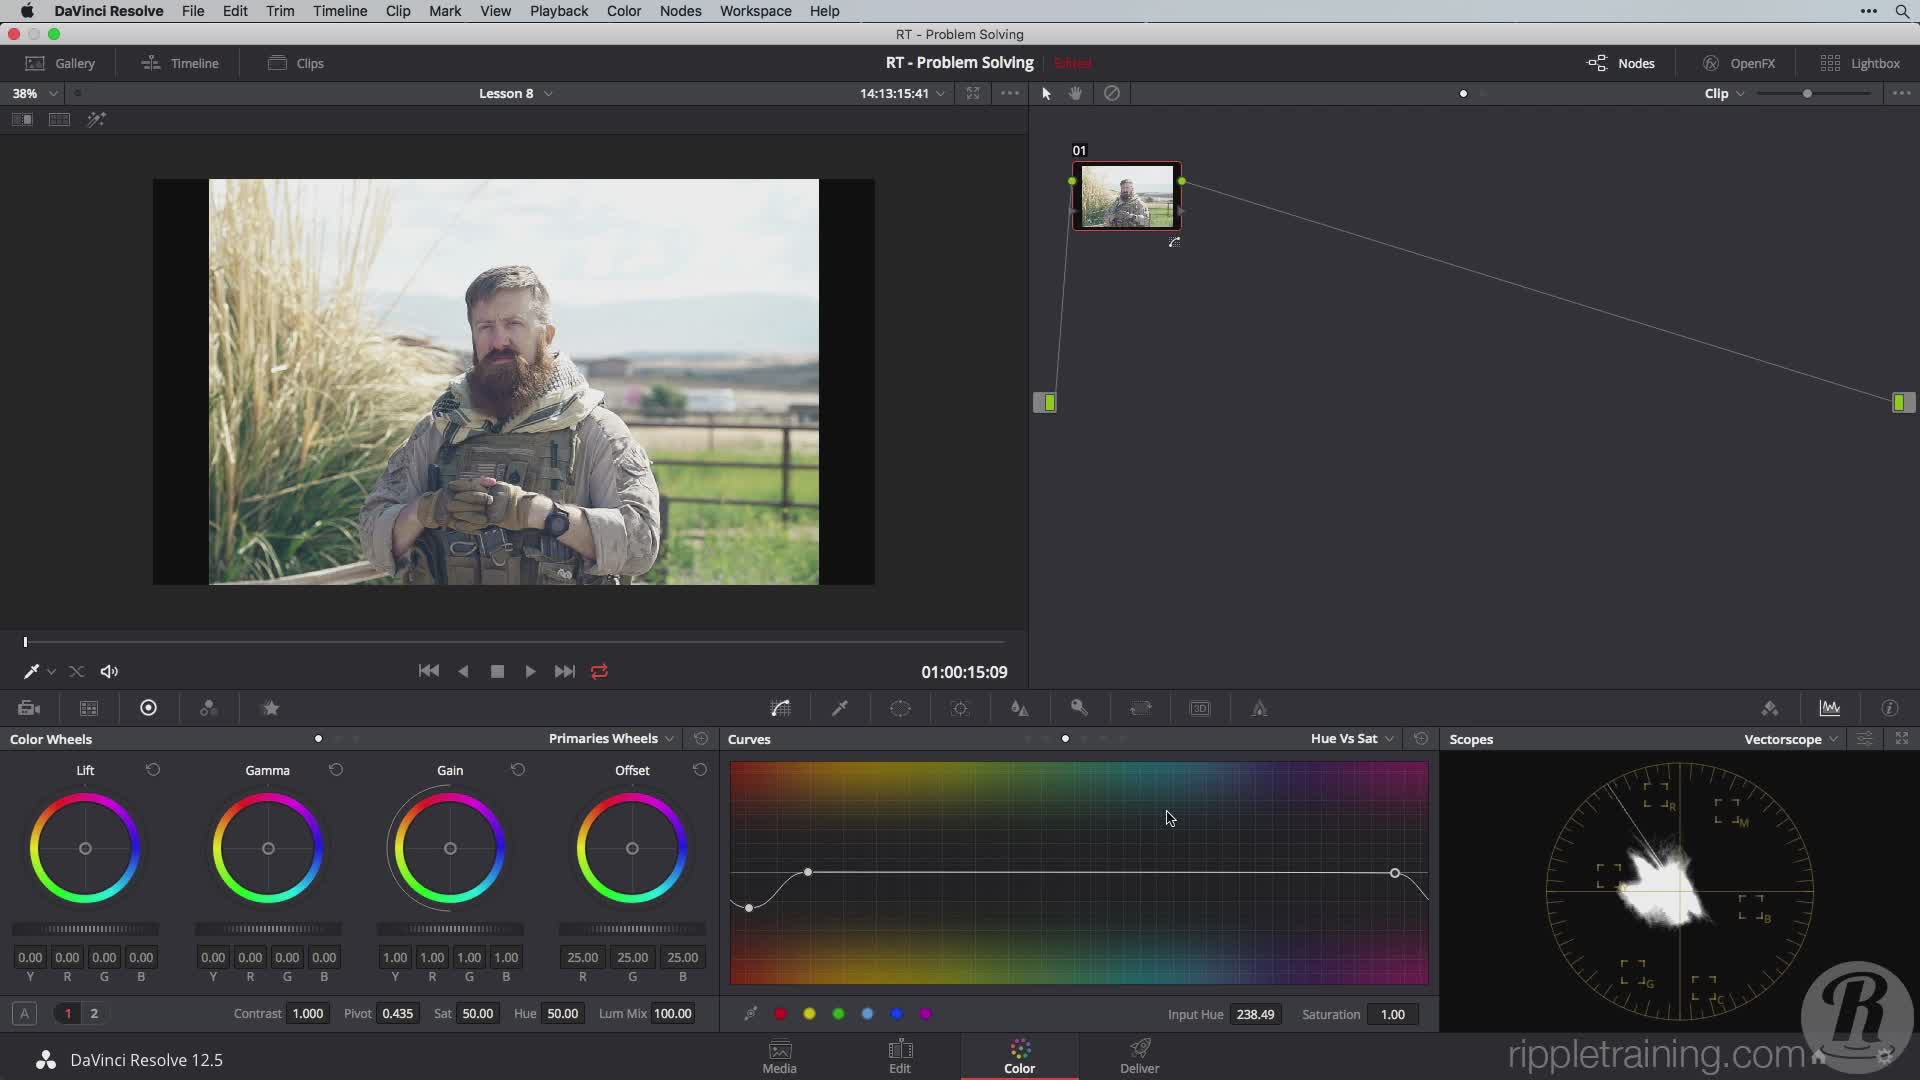
1. Color Correction Vs Grading Introduction Differentiating Color Grading & Color Correction Setting a Basic Order of Operations Setting Black Levels Setting Highlights Setting Midtones Balancing the Image Applying Saturation to the Image Secondary Color Correction Focusing the Eyes Reviewing the Order of Operations 2. Improving Contrast Defining Contrast The Rubber Band Analogy Increasing Contrast Creating an S-Curve Creating an Inverse S-Curve Unganging Your Curves Improving Contrast with the Color Wheels Using Contrast & Pivot Creating a Y Only S-Curve Understanding when to Change the Order of Operations Understanding Ganged Curves Using Lift, Gamma, & Gain Creating a Raised Shadows Look 3. Dealing with Poorly Exposed Video Correcting Exposure Setting the Scopes to Luminance Setting the Black Point First Adjusting the Highlights Adjusting the Midtones Correcting Exposure with Your Curves Bringing Back Detail in Overexposed Footage Using the Highlight & Shadow Controls Re-saturating the Sky with Hue Vs Sat Correcting for Underexposure Using the Offset Color Wheel Re-Expanding the Contrast Expanding the Shadows Evaluating the Waveform 4. Improving Color Balance Part 1 What is Color Balancing Reading the RGB Parade Scope Reading a Vectorscope Removing an Orange Color Cast Reading the Color Cast in the Parade Scope Correcting the Color Balance with the Primary Bars Correcting the Midtones 5. Improving Color Balance Part 2 Using the Temp & Tint Controls Understanding Color Temperature Understanding the Effect of the Temp Control Understanding the Effect of the Tint Control Using Temp and Tint as a Starting Point Finishing the Correction with Lift, Gamma, & Gain Cheating by Desaturating Increasing a Color Cast by Saturating the Midtones 6. Dealing with Mixed Lighting Isolating a Color Cast with a Qualification Correcting the Isolated Color Cast Correcting the Second Color Cast Using Clean Black and Clean White Correcting with Highlight Mode Enabled Adding to the Qualification Smoothing out the Qualification Isolating the Qualification with a Window Tracking the Window Adding Softness to the Window Desaturating the Color Cast 7. Using Resolve Color Management Working Log Footage What is Log Footage Analyzing Log Footage Log vs Raw Using DaVinci Resolve's Color Management Enabling Resolve Color Management Selecting an Input Color Space Color Grading an Image after Selecting Color Space Working with BMD 4K Working with S-Log Correcting Clipped Data Using Color Space Transform Benefits of Using Color Space Transform Disabling Resolve Color Management 8. Normalizing with LUTs What is a LUT Working with a 3 Node Graph Applying a LUT Correcting in the Node Before the LUT Applying an Incorrect LUT Using the Correct LUT Locating Canon's LUTs Clipping with LUTs Correcting after the LUT 9. Normalizing Manually Adding Contrast & Saturation to Log Footage Grading Log Footage with the Color Wheels 10. Using Resolve's Noise Reduction Defining the Different Types of Video Noise Compression Noise Sensor Noise Adding a Splitter Combiner Node Viewing Noise in Individual Channels Accessing the Noise Reduction Tools Using Temporal Noise Reduction First Choosing the Frame Amount Choosing Faster or Better Choosing a Motion Range Option Adjusting the Temporal Threshold Viewing the Image Noise in the Scopes Using the Blend Option Moving on to Spatial Noise Reduction How Noise Reduction Effects Playback Enabling Smart Render Cache Understanding Spatial Noise Reduction Adding Sharpening after Noise Reduction 11. Working with Neat Video Applying Neat Video Choosing Auto Profile Changing the View Mode Comparing Before & After Adding a Variant Using the Sharpening Parameters Reviewing Your General Settings Comparing Variants Applying a Variant Making Changes to the Noise Reduction Increasing the Radius 12. Focusing the Eye Part 1 Different Methods for Focusing the Eye Adding a Window to the Image Tracking the Window Sharpening the Subject & Blurring the Background Creating a Vignette When to use Blurring Desaturating the Background Combining Methods 13. Focusing the Eye Part 2 Creating a Base Grade Creating an Off Center Node Viewing your Window in the Node Tree Saturating a Subject or Prop Adding Blur to the Background Increasing Softness Re-Adjusting Saturation Adding a Window to Limit Saturation 14. Correcting Skin Tone Part 1 Reading Skin Tone on a Vectorscope Using the Vectorscope as a Guide Diagnosing the Problem Isolating the Skin Using Hue Vs Hue Using a Qualification to Isolate Skin Separating Models with Windows Correcting Skin with the Primary Color Wheels Adding a Second Window Correcting Skin Tone with the Hue Control 15. Correcting Skin Tone Part 2 Using Windows to Isolate the Problem Increasing Saturation to Judge Skin Tone Using Offset to Correct Skin Tone Adding Color Back into the Skin Tone Correcting the Hue Vs Hue Curve 16. Removing Flicker What Causes Flicker Using Flicker Free Enabling Render Cache Flicker Free Presets Adjusting Presets Changing Sensitivity Time Radius Enabling Detect Motion Adjusting Threshold Enabling All Channels BCC Flicker Fixer Choosing a Preset Choosing a Method Limiting the Flicker Removal with a Window 17. Removing Lens Barreling Analyzing the Clip Adjusting the Distortion Level Using OpenFX Plugins for Lens Correction Adding BCC Lens Correction Scaling Down to See the Effect 18. Cloning in Resolve Performing Paint Out Applying a Window to the Unwanted Object Enabling Node Sizing & Key Lock Panning & Tilting out the Unwanted Object Cloning out a Larger Object Adding & Tracking a Window to the Object Removing the Object with the Sizing Tab Color Correcting to Hide the Clone 19. Creating a Bleach Bypass Look Creating a Bleach Bypass Look Applying a Composite Mode with a Layer Mixer Node Creating Bleach Bypass Look with Curves Adding Sharpening to the Bleach Bypass 20. Performing Cross Processing Creating Offsets Reducing the Curve Values Soft Clipping Individual Channels 21. Creating a Day for Night Look Desaturating the Image Adding a Blue Tint Retaining Detail in the Shadows Adding Windows for Pools of Light Desaturating the Subject 22. Creating Duotone & Tritone Looks Creating a Duotone Look Applying Opposing Colors with the Color Wheels Using the Qualifier for Duotone Creating a Tritone
You cannot post new topics in this forum You cannot reply to topics in this forum You cannot edit your posts in this forum You cannot delete your posts in this forum You cannot vote in polls in this forum You cannot attach files in this forum You can download files in this forum


